You are here: Adding TestShell tests to a project
Adding TestShell tests to a project
To complete the installation process, you’ll need to log in to HP ALM and add TestShell tests to each relevant project. Configuring the test type in HP ALM requires admin level privileges and can be performed via any client PC.
To add TestShell tests to HP ALM:
- Log in to HP ALM with a privileged user. To learn how to set up this user, see the HP ALM User Configurations appendix.
- Access a project.
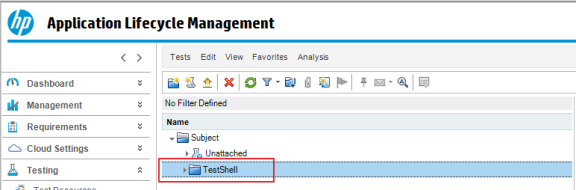
In the left pane, expand Testing and click Test Plan.

Create a new folder. Give it a meaningful name, like “TestShell”.
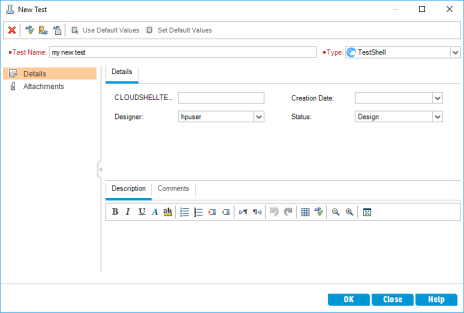
Create a new test of type TestShell in the folder.
For example: “my new test”:
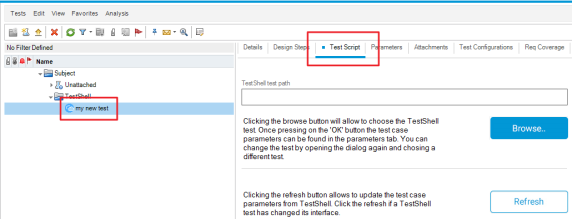
Select the new test and click Test Script.
Browse TestShell Studio and select a suitable test. For example:
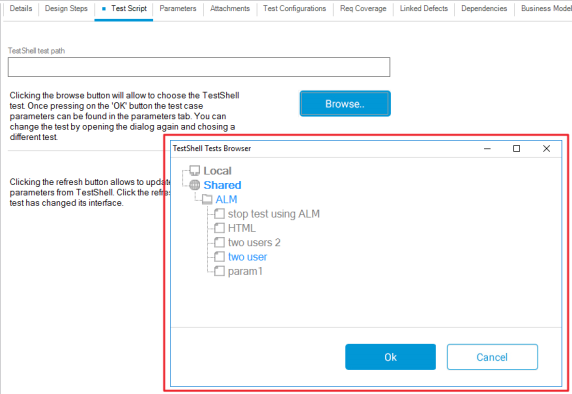
Test parameters that are published for the test in TestShell Studio are automatically populated with the required values and can be viewed in the Parameters tab.
- Add additional tests to the test set.
- If needed, set default parameter values.